5 Steps How to Plan Your Flooring Renovation and Interior Painting (Easy Guide for Orlando Homeowners)
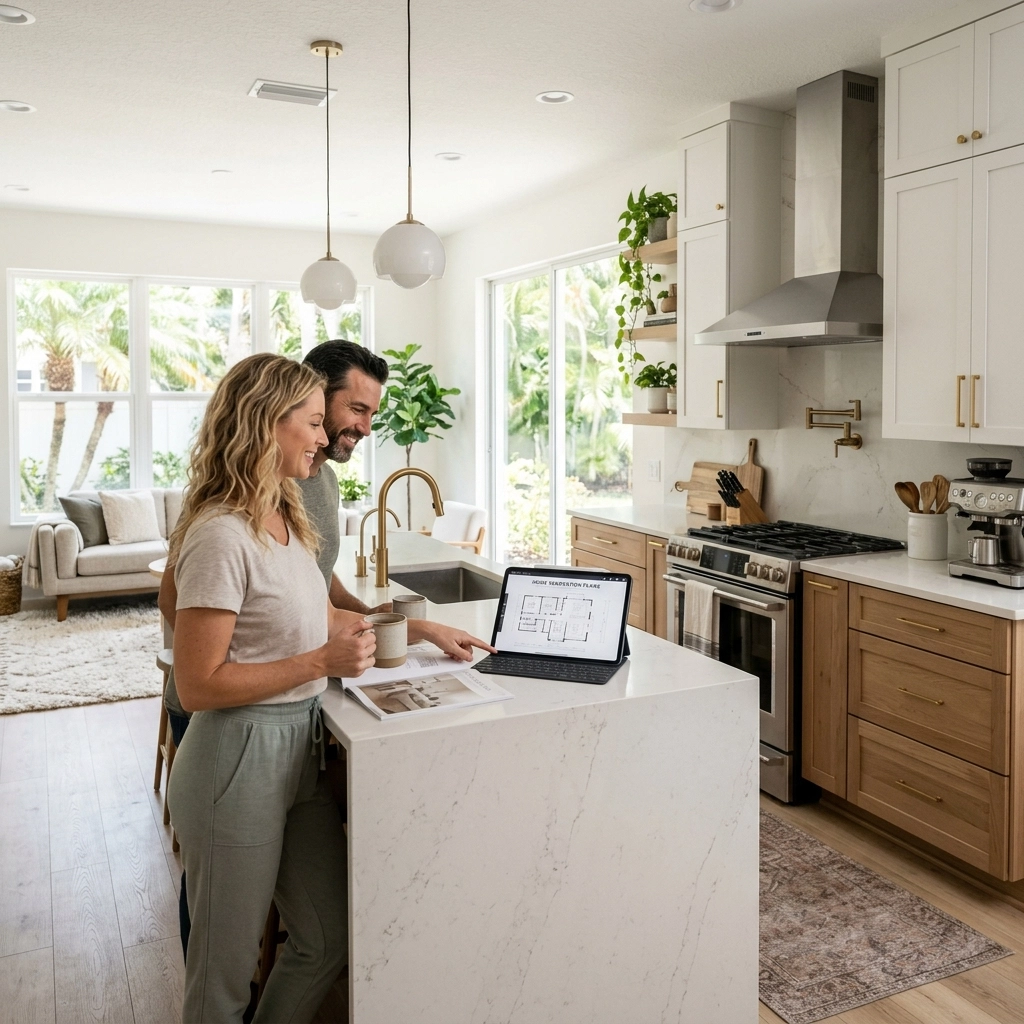
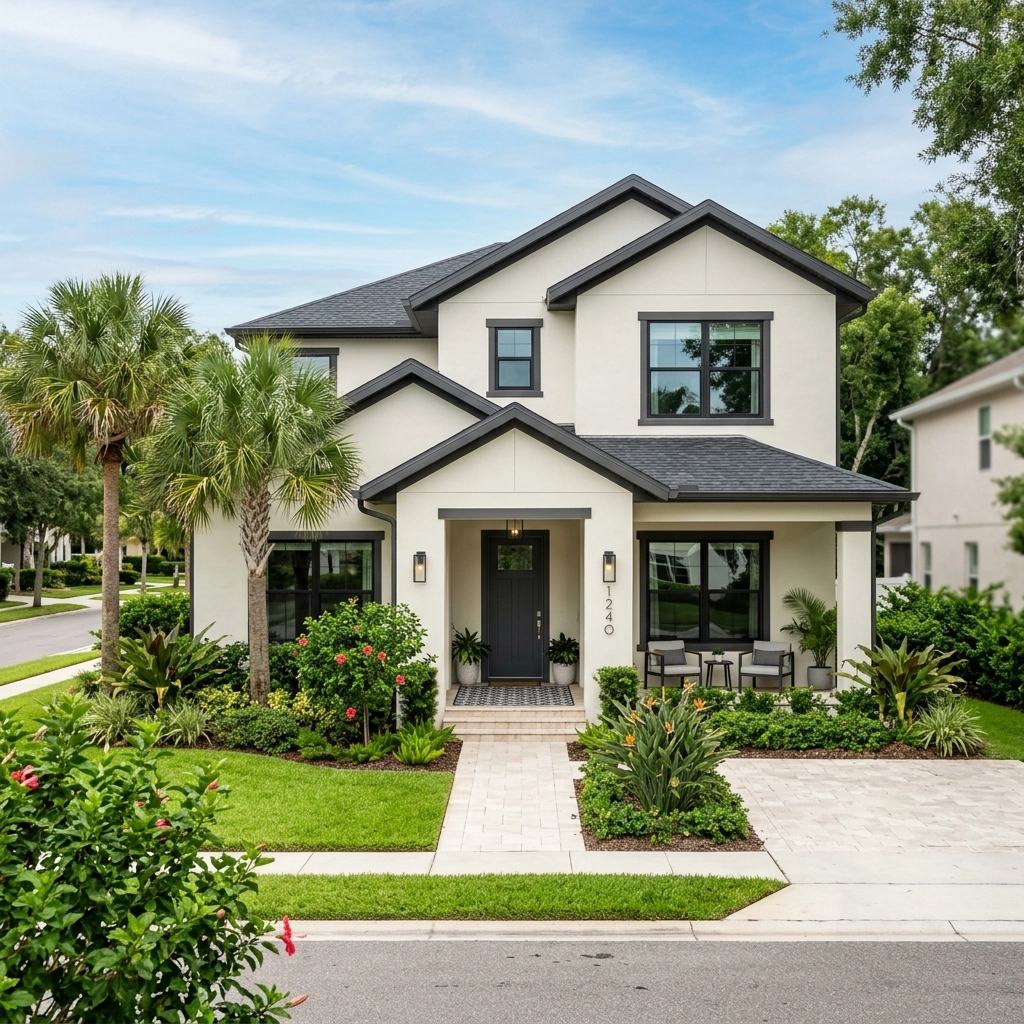
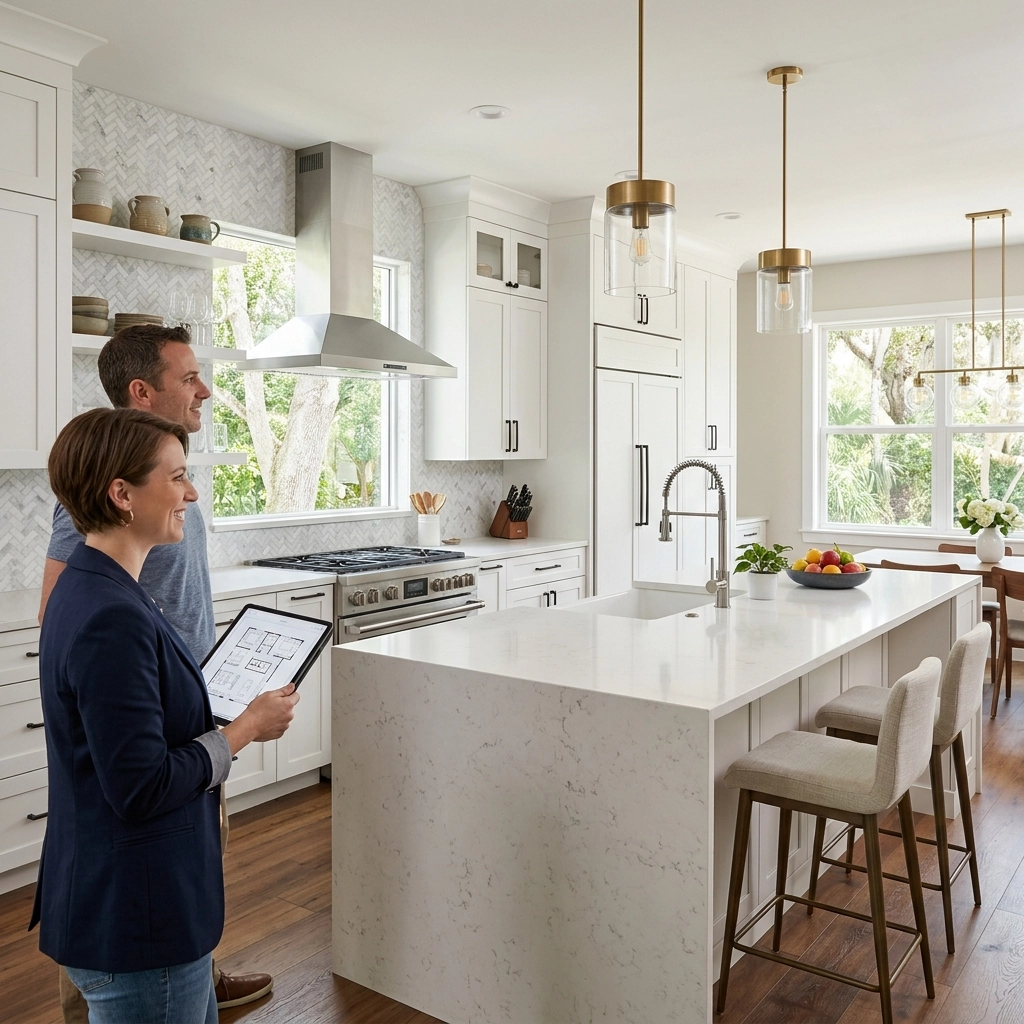
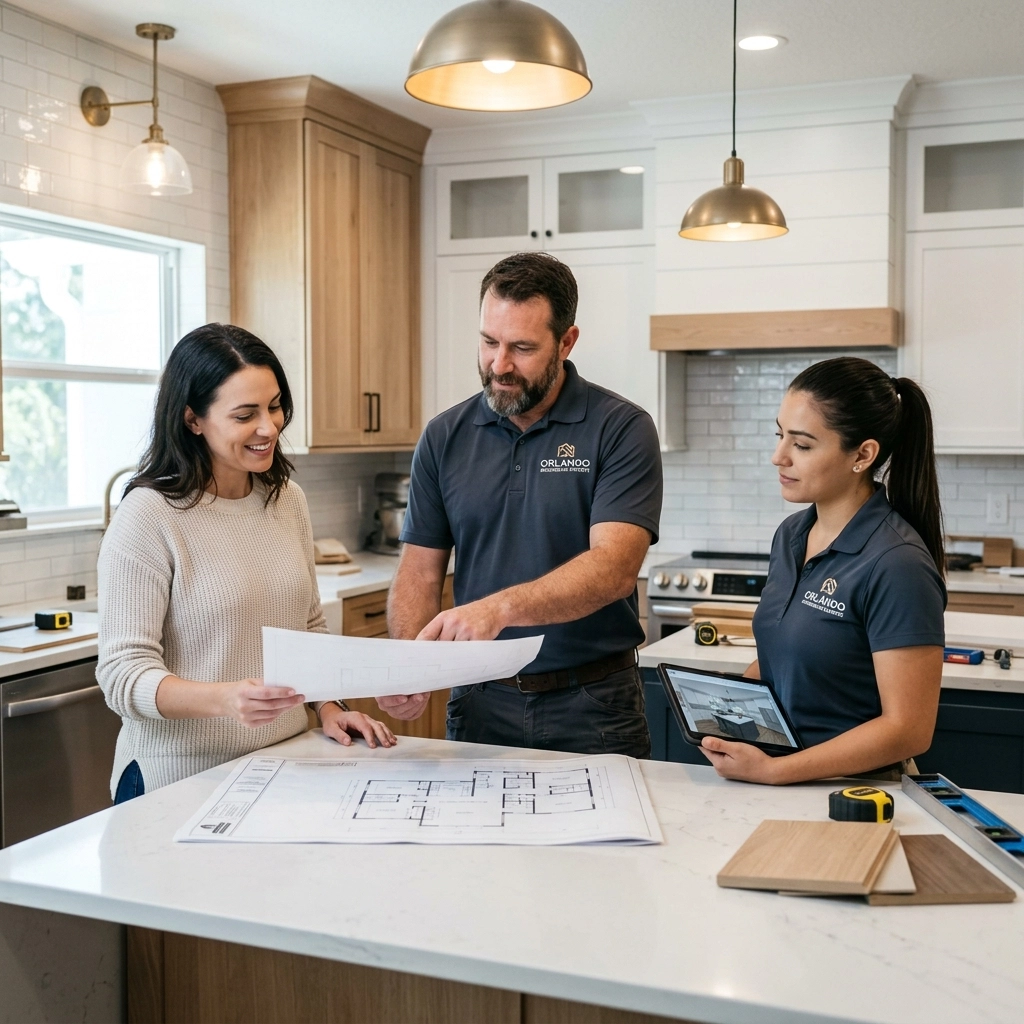
Your home is more than just a structure; it is the canvas upon which your life’s most cherished memories are painted. It is your sanctuary, your personal oasis from the Florida heat, and a reflection of your unique style. When the time comes to breathe new life into your living space, few transformations are as impactful as a professional flooring renovation in Orlando combined with fresh interior painting. However, the journey from an outdated room to a stunning, modern sanctuary requires more than just picking a color and a material. It requires a vision, a strategy, and a partner who understands the intricacies of home transformation. At A&G General Services USA, we believe that every renovation is a collaborative journey where your dreams meet our craftsmanship. To help you navigate this exciting process, we have curated this expert guide to planning your renovation with ease and confidence. Step 1: Envision Your Space and Inspect the Foundation Every masterpiece begins with a vision. Before you pick up a single sample or a paintbrush, take a moment to walk through your home and imagine its full potential. How do you want to feel when you step onto your new floors? What atmosphere do you want your walls to project? In Orlando, our homes face unique environmental challenges, such as high humidity and the specific characteristics of concrete slab foundations. This makes the initial inspection phase critical. The In-Home Assessment Start with a comprehensive assessment of your space. Measure every room, but also look deeper: Identify Transitions: Note where one room ends and another begins. Are you planning a seamless transition between the living room and kitchen? Door Clearances: A new, high-quality floor might be thicker than your current one. Ensure your doors have the clearance to swing freely. The Subfloor Inspection: This is where many DIY projects fail. In Central Florida, moisture can seep through slabs, affecting the longevity of your materials. As Remodeling Experts, we prioritize this step to ensure that the beauty we create is built on a foundation that lasts. Whether you are in Orlando, Kissimmee, or Casselberry, understanding the "bones" of your home is the first step toward a successful transformation. Step 2: Curate Your Materials and Set a Thoughtful Budget Once you have a vision, it’s time to select the materials that will weave the tapestry of your new home. This is where quality becomes the bridge between a project that looks good today and one that looks exquisite for years to come. Selecting Your Flooring For homeowners in Central Florida, the choice of flooring is both an aesthetic and a practical decision. Tile Installation Orlando: Porcelain and ceramic tiles are timeless favorites. They offer unmatched durability and stay cool under the Florida sun. If you are looking for inspiration, explore our 20 stunning design ideas for tile installation. Luxury Vinyl Plank (LVP): This is a popular choice for those who want the warmth of wood with the water resistance needed for our humid climate. Hardwood: A classic choice that adds incredible value and a sense of tradition to any home. Coordinating Your Color Palette Your walls and floors must speak the same language. We always recommend getting physical samples of your flooring and testing paint swatches against them in your home’s natural light. The way a "Warm Greige" looks against a dark oak floor is vastly different from how it appears next to a light marble tile. Planning Your Investment A successful renovation requires a clear budget. Beyond the cost of materials and labor, ensure you have a 10-15% contingency fund. This "peace of mind" budget accounts for those hidden surprises that can only be found once the old flooring is removed. Step 3: Establish the "Flooring First" Order of Operations One of the most common questions we hear is: "Should I paint first or do the floors first?" While there are arguments for both sides, our years of experience as a premier remodeling company have shown that installing flooring before painting is almost always the superior choice. Why Flooring First? Baseboard Integration: When you install new floors, your baseboards and trim often need to be removed or adjusted. If you paint your walls first, you risk damaging the fresh finish during the flooring installation. Sanding and Dust: Even with the best dust-containment systems, installing hardwood or tile creates debris. You don't want construction dust settling on tacky, freshly painted walls. Color Harmony: It is much easier to choose a paint color that perfectly complements your finished floor than it is to find a floor that perfectly matches a pre-painted wall. By following this order, we ensure that your interior painting in Orlando acts as the crowning jewel of the renovation, rather than a step that requires constant touch-ups. Step 4: Account for Moisture Testing and Professional Preparation In the heart of Florida, moisture is our constant companion. For a renovation to be successful, it must be "weather-proofed" from the inside out. This is a technical step that separates the amateurs from the true Remodeling Experts. The Science of Subfloors Before any material is laid down, a professional team should perform moisture readings on your subfloor. If the moisture levels are too high, your beautiful new floors could warp, buckle, or develop mold issues within a few years. At A&G General Services USA, we take this seriously. We select specialized adhesives and underlayments designed specifically for the Orlando climate. Furthermore, we allow materials like hardwood or LVP to "acclimate" to your home’s internal temperature and humidity for at least 48 hours before installation. This patience is what ensures your home remains a sanctuary of quality. Step 5: Schedule the Transformation and the Final Walkthrough With the planning, materials, and technical prep out of the way, it is time to bring the vision to life. This is the "sculpting" phase where your dream home takes shape. Managing the Timeline A typical flooring and painting renovation follows a structured timeline: Demolition and Prep: 1-2 days. Flooring Installation: